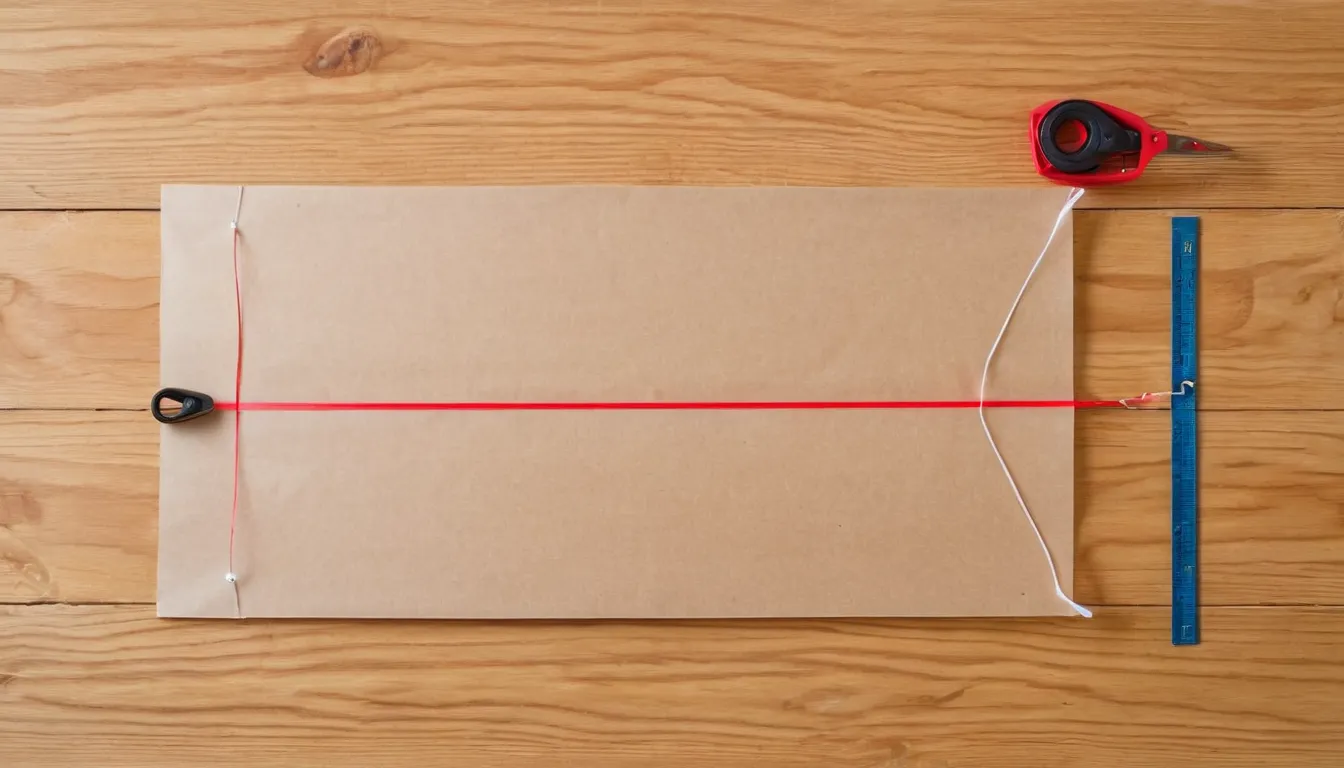
What you need
- A sheet of light plastic, such as a large trash bag cut open, about 3 feet by 2 feet.
- Two thin, straight sticks the height of the kite, about 2 feet each. Thin wooden dowels or bamboo garden canes work well.
- Strong tape, such as packing tape.
- Thin string for the bridle, about 6 to 8 feet.
- Kite line on a winder, light cotton or polyester line for a kite this size.
- Scissors, a ruler or yardstick and a marker.
These sizes are a starting point. A sled kite is forgiving, and small differences in size or shape won't stop it flying. Children should have an adult handle the scissors and any sharp stick ends.
Mark and cut the sail
- Lay the plastic flat and mark a rectangle about 30 inches wide and 24 inches tall.
- Draw two vertical lines from top to bottom, each about 7 inches in from the left and right edges. The sticks will go on these lines.
- On each side, mark a point on the outer edge a little above halfway down. This is the wingtip.
- Draw a straight line from the top of each stick line out to its wingtip, and another from the wingtip back to the bottom of the stick line.
- Cut along those lines. You now have a shape like a wide, flat-topped arrow pointing both left and right, with two triangular wings.
Fit the sticks
Lay a stick along each vertical line and tape it down firmly at the top, bottom and middle. Trim the sticks if they hang over the edges. Wrap tape around both ends of each stick so no sharp tip pokes through the plastic.
Tie the bridle
- Reinforce each wingtip with a few layers of tape on both sides.
- Punch a small hole through the tape, a little in from the tip, so it won't tear.
- Cut a piece of bridle string about three times the kite's width.
- Tie one end to each wingtip.
- Hold the kite up by the string and find the exact middle. Tie a small loop there. This loop is the towing point, where the flying line attaches.
A bridle that is too short pulls the wings together and the kite will collapse. If your sled folds up in the air, a longer bridle is usually the fix.
The first test flight
Choose a gentle breeze of force 2 to 4 and an open field away from power lines and roads. Attach your flying line to the loop with a lark's head knot and follow the launching steps. Sleds often launch straight from the hand.
| If the kite | Try |
|---|---|
| Folds up and falls | Lengthen the bridle, or wait for steadier wind |
| Spins or swings side to side | Add a tail of light ribbon or plastic strips from the bottom edge |
| Leans to one side | Check the loop is exactly in the middle of the bridle |
| Won't climb | Wind too light; try again on a breezier day |
Moving on to a diamond kite
Once a sled flies well, a two-stick diamond is a good next project. It needs a longer upright spine, a shorter cross spar tied across it near the top, a frame string around the tips, a paper or plastic sail, a two-leg bridle and a long tail. It takes more care to balance than a sled, which makes it a satisfying second build. See the kite types guide for how the two compare in the air.